
Are you a fan of the rustic style? Or perhaps you want to wow your friends and family by showcasing your artistic abilities? If so, we have something that can elevate the look of your home.
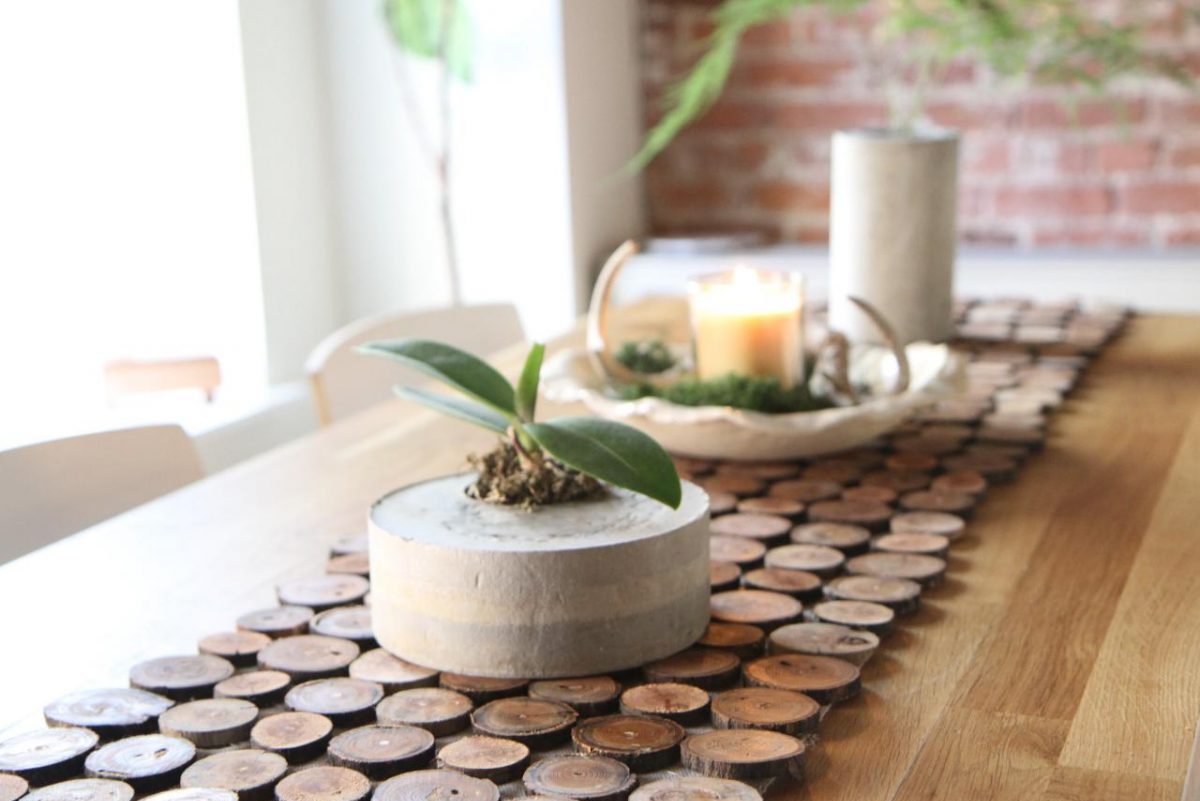
A DIY Wood Slice Centerpiece will make the perfect addition to your home. Follow these steps to make one all by yourself.
Materials and Tools
Here are the basic materials and pieces of equipment that you will need for this project:
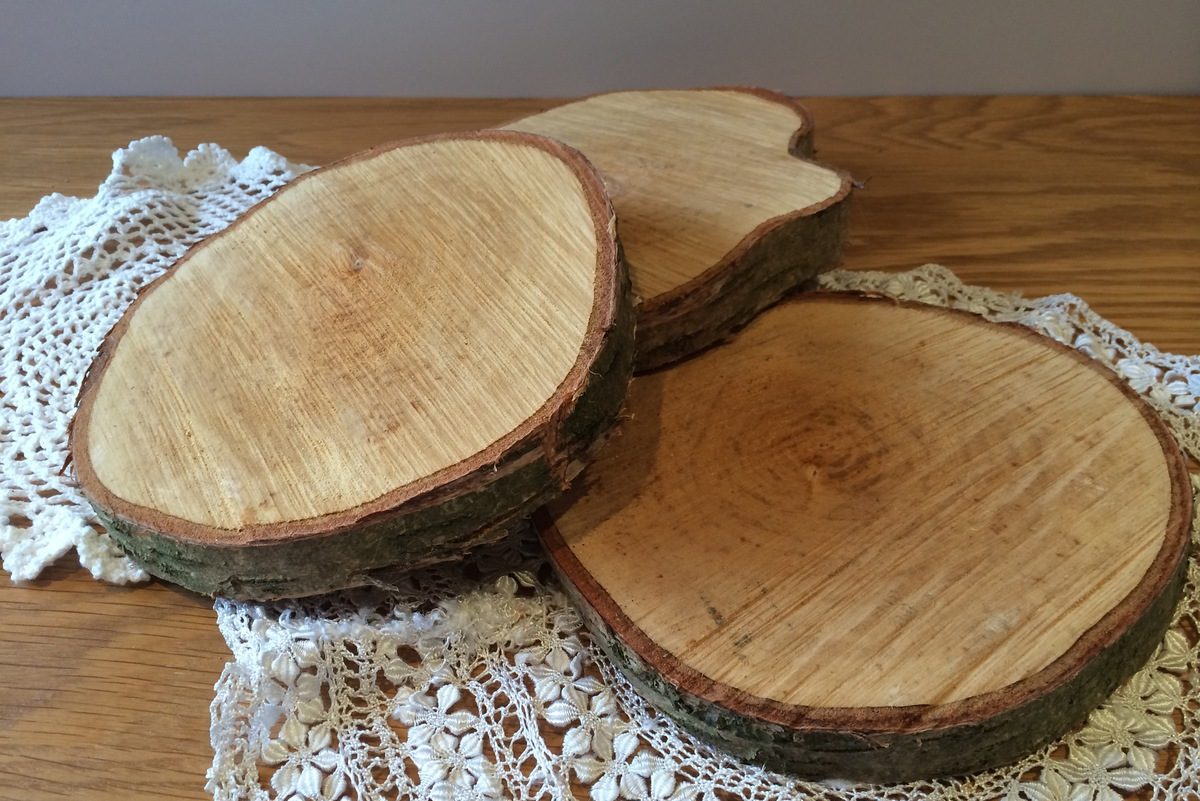
- Large tree stump, pre-cut wood slices, or fallen branch
- Stain, paint, wax, oil, or topcoat
- Sandpaper with 120 to 220 grit
- Saw (circular or hand)
Instructions
Below are the steps involved in the creation of a DIY Wood Slice Centerpiece:
- Choose the appropriate wooden material. If you are using a fallen piece, make sure to hose it down and wait for it to dry.
- Once ready, clamp a side to a board and cut carefully with a saw.
- Lightly sand the flat surfaces with 100-grit sandpaper and then 150-grit one to smooth it out.
- Apply paint, stain, wax, finishing oil, or topcoat as desired.
Final notes
These are the basic steps, but there is room for customization in this project. The centerpiece can be used as a decorative piece, coaster, charcuterie board, or tray for trinkets. If you will use it for food, use food-safe sealant on the surface.
Do not worry too much if it is not perfect. In fact, imperfections can make it even more rustic and beautiful!