
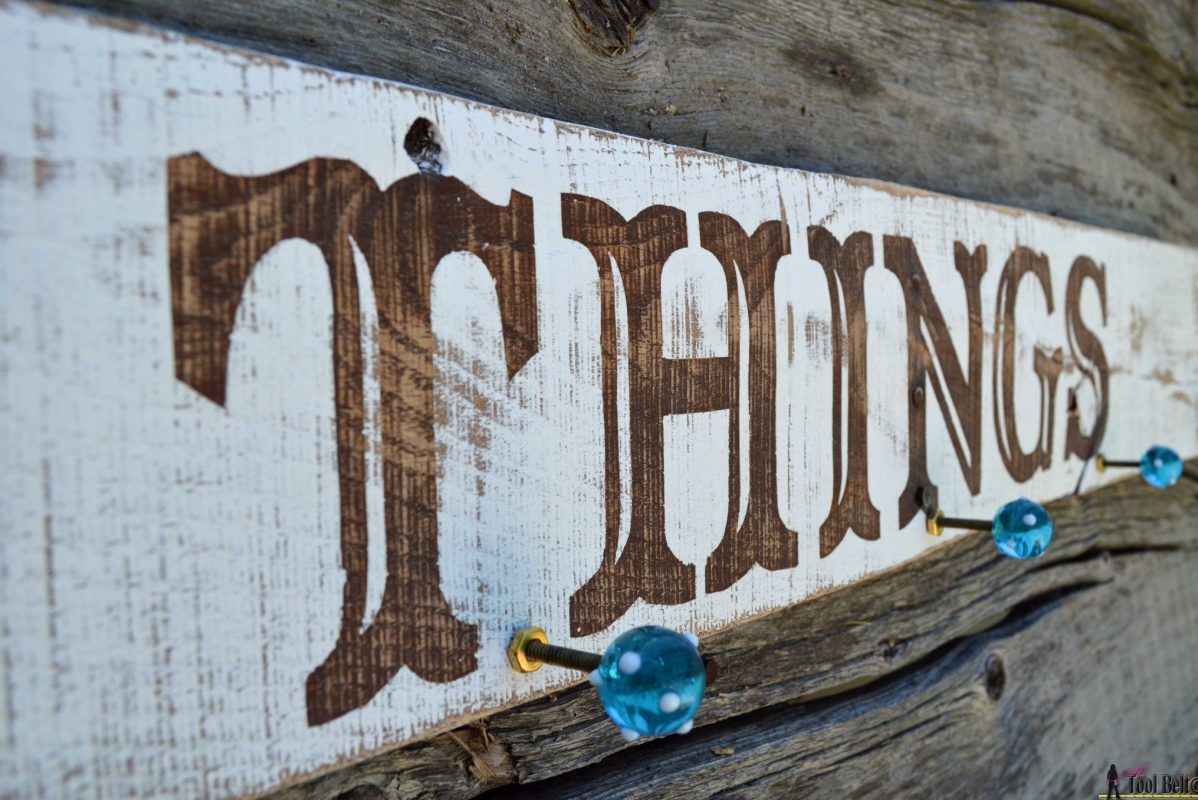
If you want to add more life to any wooden material, stencils are a great way to do it! Remember how exciting it is to slowly lift the stencil to see a neatly formed design underneath?
Even if the result is not perfect, you do not need to be frustrated. Here we will show you how to perfect your stencil technique. By the end of this guide, you will know what to do to avoid bleeding and smudges!
1. Clean and Smooth the Surface
No matter what material you use, ensure that its surface is smooth and clean. Paint will not stick to dust, oil, and dirt. This will ensure an even application.
2. Get the Right Adhesive
Repositionable spray adhesive is ideal for securing the stencil. It is good at securing the stencil but remains easy to remove once you are done.
Just lightly spray a layer on the back to secure its position. We recommend it if you are working on a small and detailed project.
The adhesive also ensures that paint won’t creep below the plastic and around the letters. In case of any adhesive residue, simply wipe it off with a damp paper towel or baby wipe.

3. Use Makeup Sponges
Ditch the outdated stencil and sponge brushes combo. Use wedge-shaped makeup sponges instead! These products have a nice and smooth texture for an amazing finish.
All you have to do is pour some paint onto a painter’s palette or paper plate. Gently dab the sponge into the paint. Make sure to only use a tiny amount to prevent a mess. Dab excess paint away before you start stenciling.
Once ready, gently dab right onto the surface using an up-and-down motion. You might need to do several coats to get the ideal coverage but wait for the paint to dry first before another application.
4. Cover Gaps with a Toothpick
The tiny connector lines can give a rustic appeal to the result, but what should you do if you want to hide them? A toothpick will do the trick. Dip the tip in paint and dab off any excess. Carefully fill in the gaps with it as if it were a small paintbrush. Voila!